
Read the Door
Engineer George Humphrey from Gary Indiana Fire (Engine 7) sent in these photos from his first due. It’s hard to believe that a Dollar Store would go through all of these security measures.
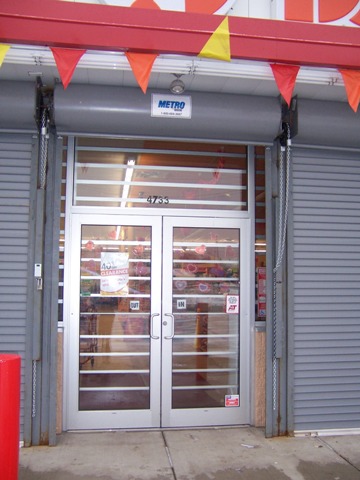
The picture above shows the roll down gates that cover all of the glass on Side A. Even when the
gates are open, look at the metal bars behind the glass. Not impossible, but just one more thing to deal with.
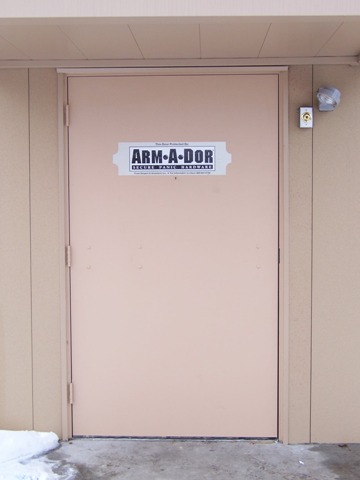
As always, when you go around to Side C we advocate that you read the door. This time we mean it
literally, read the door. Wouldn’t it be nice if all doors had a descriptive sign on it letting
you know exactly what to expect on the other side? Besides the sign when reading the door you’ll
see the obvious: door catch strike plate, bolts in the typical panic bar location, and obviously the hinges.
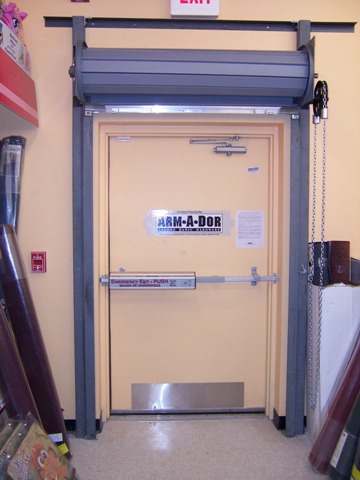
A look from the inside shows something you might not have expected another roll up gate. The gate
will present some challenges later, but first let’s look at the locking mechanism. This panic hardware
setup is a bit stouter than a normal set-up. A normal setup may only have a small lock throw that
goes ½ to ¾ of an inch into the jamb. This one is much more solid because of the diameter and throw of
the locking bar. The bar protects both sides of the door, making the hinge cut and pry technique much
less effective.
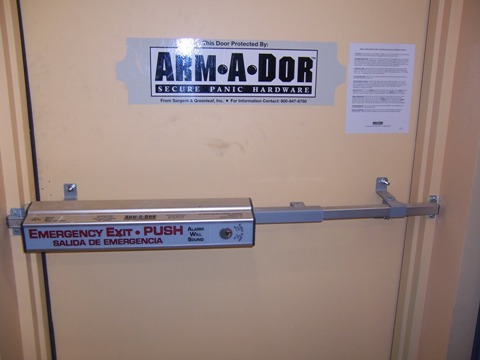
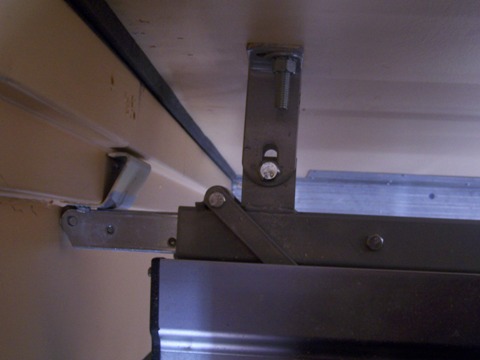
Above are close-ups of the panic hardware and how it secures to the door frame. The bar is made of
12 gauge steel and covers 1 ½ inch on both sides of the frame.